How to Make an Image’s Background Transparent
Do you also want to make your image’s background transparent or remove?
As it is the trendy thing on Instagram stories, no doubt it makes the picture two times more attractive and beautiful. Whether you are a graphic designer, content creator, or social media user.
It can make your pictures outstanding on different platforms. Let’s talk about how we can make an image transparent by using Picsart.

What is Transparency, And Why is it Important?
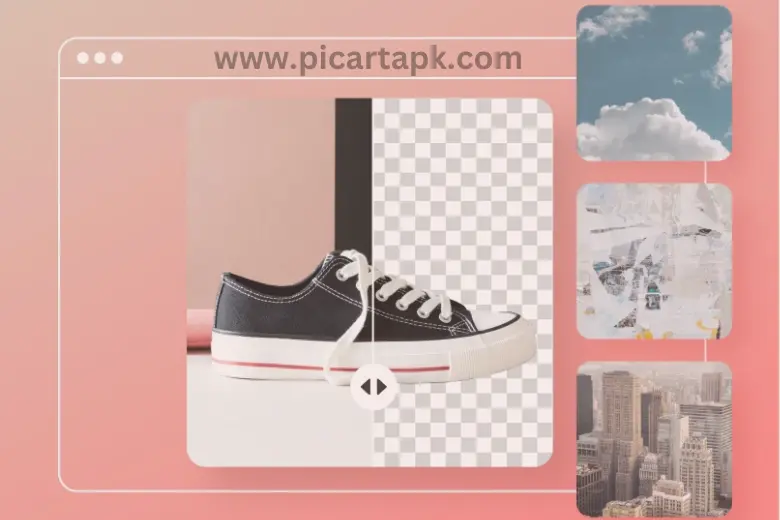
Before we jump to the next section, we first learn about the transparency of the image. In the transparency of the image, the background will be removed or transparent to add a new background or view to your image.
Removing the background allows you to add a new background or beautiful view by using layers. This feature helps the editors to reach the highest potential of their editing level. Not only this, but can bring great creativity to social media.
Choosing The Right File Format For Transparency
Choosing the right file format is important while doing the transparency of the image. The main file formats are PNG, JPEG, and GIF. They have their own characteristics and abilities to store transparent pictures. Let’s discuss it in detail.
PNG
PNG stands for Portal Network Graphics. It is really a good choice if it comes to storing transparent images. These formats have alpha channels, which help support transparent image files and allow high compression, ensuring high quality without losing any details. It is best for those images which want sharpness and clarity.
JPEG
JPEG is also known as JPG. This file format does not support the transparency of the images because it does not have any alpha channels so, it does not support any transparent image. JPG has loss compression, which affects the image quality due to pixel disruption. While using this format, your image can be blurry. So, it’s better to use PNG file format.
GIF
GIF is known as Graphics Interchange Format. It supports transparency but in a limited way. They have a transparent color but are not fully transparent; that’s why they do not support all types of transparency. It has limited colors to 256, which can cause pixel disruption and lead to bad image quality.
How To Make Image Background Transparent In Picsart?
Here are the simple and easy steps that will help you make your image’s background transparent in PicsArt.
Install and Open Picsart
First, Install and open Picsart on your phone. Create an account or sign in.
Upload An Image
Upload an image from the image gallery by clicking on the “+” button present in the bottom centre.
Select the Background Eraser Tool
Once the image is transferred then, select the background eraser tool from the toolbar.
Adjust the Tool Settings
Before removing the background, first, adjust its setting i.e. hardness, opacity, and brush size, to achieve the accurate level. Experiment with it to find a perfect balance.
Erase the Background
After adjusting the tool setting, use your finger to remove the background from the image. Take the time to make it precise and accurate.
Refine
After removing the background, it’s time to refine it. Zoom all the corners of the image and drag your finger to refine its corner.
Save
The final and last step is saving. Click on the important button to save the picture into the phone gallery by using the PNG format to protect the image from pixel disruption.
Advanced Techniques: By Using Layers And Mask
The above-mentioned method will allow you only to transparent the background but with the help of layers and masks, it will help you to add beautiful text or the desired background to the image.
Let’s get started!
Using Layers and Masks
Picsart allows you to work with layers which is a very useful and powerful feature to make the images more eye-catching.
- First, open an image in the pics.
- Tap on the layers icon present at the bottom of the screen.
- Add a new image by clicking on the “+” button present at the bottom.
- After the image selection, tap the mask icon.
- Erase the unnecessary part of the image by dragging the fingers.
- Adjust the opacity to make the balance between the two images’ colours.
Adding Transparent Text or Graphics
Another interesting thing about this feature is you can also add text or graphics to your transparent image. This is the best way to add logos or text to the image.
- Open an image in the Picsart.
- Click on the text or sticker icon.
- Choose your favourite font and colour.
- Adjust its size, opacity, and structure to blend it perfectly with the background.
- Save the image in your gallery by clicking on the export button.
Conclusion
In conclusion, Picsart offers a wide range of great tools, in which transparency or background eraser tool is one of them. It helps the users remove the background from the image to create a transparent image that can be added to the front of the desired background to make it more perfect and attractive.
You can add your company logo or text to the image with the help of layers and mask techniques. Above, there is a complete and easy guide about how to transparent an image. So, today edit your image and post it on social media platforms.
Click on the button and Download Picsart GOLD APK
GOLD UNLOCK
NO ADS
NO WATERMARK
